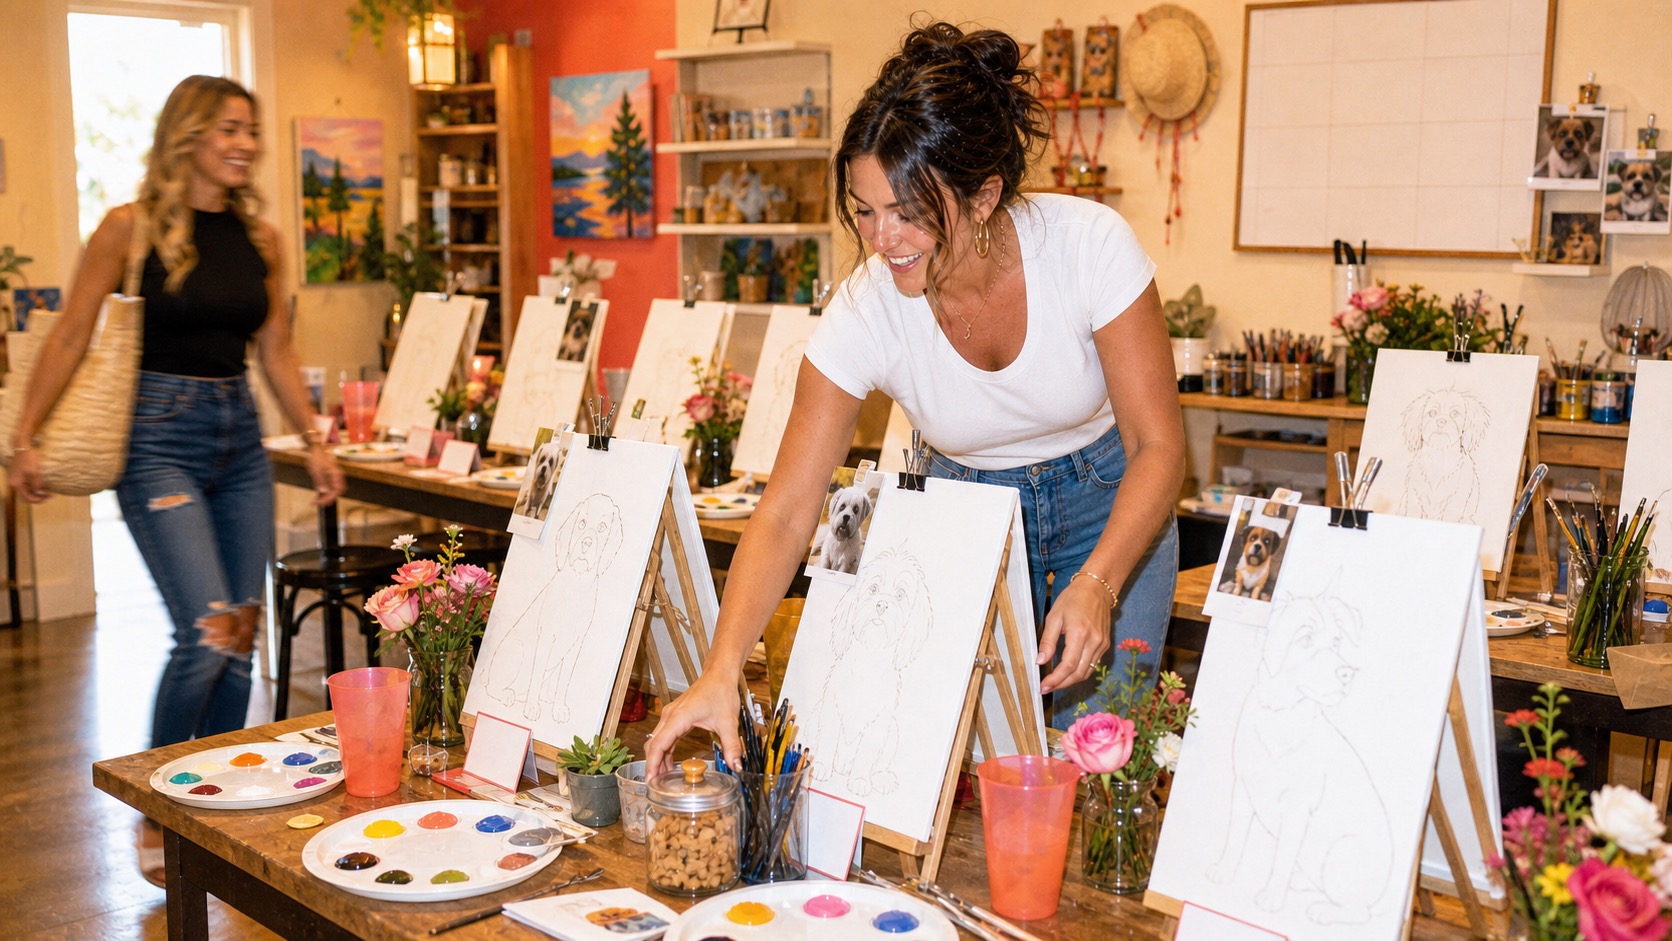
Pet paint by numbers turns a pet portrait into numbered shapes that match a colour key. Start with a readable design and the right materials, keep a spare reference nearby, and paint manageable areas without rushing the small facial details. A digital template requires more preparation than a kit with numbered paints supplied.
Once the template is ready, the question changes from “How do I draw my dog?” to “How do I paint this without losing the tiny number next to his nose?” Much more manageable. Still worth a plan.
This guide covers the physical painting: setting up, following the numbers, working around eyes and fur, and knowing what to do when a patch goes wrong.
Need a design first? Try your pet photo to prepare a stencil or numbered guide. Creating your own artwork requires sign-in and payment; paints and canvas are not included.
First, know what you are starting with
There are three different things you might have on the table.
| Starting point | What it gives you | Your next job |
|---|---|---|
| A digital numbered template | A design and, if included, a colour key | Arrange the surface, printing or transfer, and physical paints |
| A complete custom kit | Whatever prepared materials the seller lists | Check the contents and follow its instructions |
| A sketched or grayscale pet canvas | A guide to the pet’s shape or shading | Follow the instructor’s or artist’s colour guidance |
That last option may not be paint by numbers at all. Pinot’s Palette’s Project Pet describes a grayscale canvas and instructor support. It is a useful alternative if you would rather get help in a class.
For an example of kit contents, Canvas by Numbers lists a prepared canvas, numbered acrylic paints, brushes, and reference materials. Read your own product listing rather than assuming every seller includes the same things.
Check the design before opening the paints
Still preparing a digital file? Our photo-to-paint-by-numbers tutorial covers choosing the image, simplifying the design, and getting it onto a surface. If you want more help choosing a format, start with the beginner’s guide to painting your pet.
Set the outline beside the original photo and the colour reference. Can you read the labels? Do the key and the template belong to the same version? Are the pet’s important features visible?
Pay attention to the smallest areas you will actually paint. A large canvas can still have very small regions around eyes and fur. If the labels are unreadable, ask the provider for a clearer reference or revisit the template before covering anything.
For a custom kit, check its contents and contact the seller about missing or incorrect items before you improvise. It is easier to sort out an absent colour now than after half the face has been painted with a guess.
Keep a spare paper or digital copy of the numbered design. Put it somewhere paint cannot splash onto it. You will be glad to have it when a label disappears under the first coat.
Set up a small, useful painting space
You do not need a studio. You need enough room to work without balancing the water cup against your elbow.
Our suggested setup is a covered table with good light, a supported painting surface, your paints and key, a rinse-water container, a cloth or paper towel, and a small piece of scrap material for testing strokes. Keep your drink separate from the rinse water. They get surprisingly similar when you are concentrating.
Use the brushes supplied with your kit first if they suit the design. A fine point helps with small shapes; a larger brush is more comfortable for broad areas. Before buying extras, try a few marks and see which part of the job the existing brushes cannot handle.
If you have prepared the project yourself, choose a surface intended for your paint. Liquitex’s surface-preparation guide explains that the surface affects how acrylic paint handles and adheres. Follow the material instructions rather than assuming ordinary printer paper will behave like a prepared canvas.
Make the colour key easy to follow
Arrange the numbered paints in order and check the labels before dipping the brush. Keep lids with their matching containers.
If you are mixing paints for a digital template, label your mixes and make a small swatch for each number. Give yourself enough information to repeat the colour later: which paints you used and roughly how much of each. “That nice brown” becomes less helpful tomorrow.
Compare swatches after they dry. Liquitex explains that acrylic colour can shift as the paint dries, so a wet puddle is not the final reference.
A digital colour code does not tell you a universal paint recipe. If exact premixed colours matter to you, check whether your chosen kit supplies them. With a self-prepared template, colour matching is part of the project.
Choose an order that keeps your hand out of wet paint
You do not have to paint number one first. The numbers identify colours; they are not necessarily a sequence.
Start with a few larger, easy-to-reach areas to get comfortable with the brush and paint. Work in a direction that lets your hand rest away from wet sections. You can rotate the surface when that makes an edge easier to reach.
Then choose whether to work by colour or by area. Painting several nearby regions of one colour means less brush cleaning. Completing one area of the portrait can make your progress easier to see. Either can work; follow any specific instructions supplied with the project.
Avoid chasing one colour into every tiny corner of the canvas if doing so means leaning over wet paint. There is no prize for finishing all the number sevens in a single sitting.
Fill the shapes without flooding the detail
Practise on the scrap surface first. Try making a short edge, a small curve, and a filled shape with the amount of paint you plan to use.
For a small region, use enough paint to make a controlled mark without burying the neighbouring boundaries. If the paint catches or drags, check the paint maker’s instructions before adding water or medium. Different products have different handling guidance.
Work toward an edge slowly, keeping the reference nearby. If a number remains visible after the first coat, let the paint dry and assess whether it needs another coat. A thick blob may hide the number, but it can also swallow the detail beside it.
Rinse your brush as needed while working and clean it before the paint dries in the bristles. Liquitex notes that acrylic can be cleaned with water while wet and becomes permanent when dry. Keep the product’s own cleaning directions handy.
Give the eyes and nose their own moment
Small facial features deserve attention because they are easy to change accidentally. Before painting an eye, identify its outline and the surrounding colours on the clean reference.
Our recommendation is to approach those details when you feel settled, rather than in the final rushed minute of a session. Use the smallest brush that gives you control, support your hand, and rotate the painting if it helps.
If the template contains a tiny highlight, note where it belongs before the number disappears. Do not automatically add bright dots or extra outlines to make the face “more realistic.” Compare with the reference and decide whether a change actually helps.
Step back occasionally. A mark that looks odd from six inches away may make sense as part of the whole face. The portrait is going on a wall, not under a microscope.
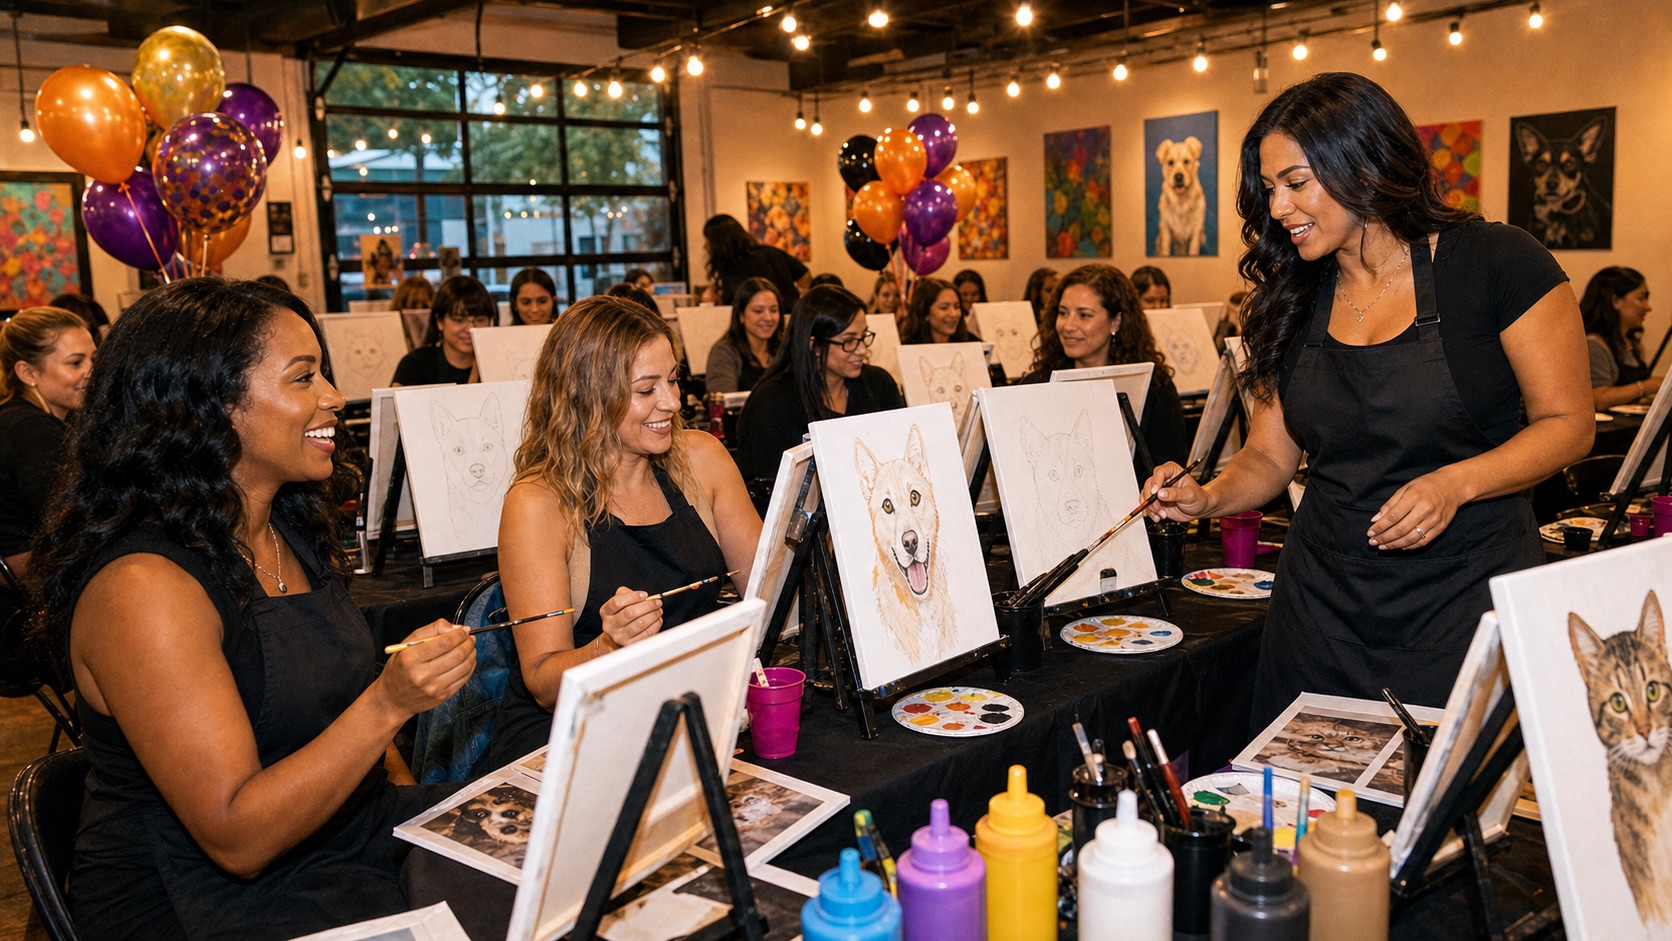
AI-generated editorial illustration; the pictured scene is not evidence of a beginner’s finished result.
What about fur, markings, and background colour?
Follow the large colour regions before deciding whether the portrait needs extra fur strokes. The numbered design has already simplified the photograph. Adding many new lines can make it harder to see the shapes that describe the pet.
For a first project, our recommendation is to complete the supplied design before making stylistic changes. Then look at it from a normal viewing distance. If you want to soften an edge or add a few marks, test the brush movement on scrap first.
Keep distinctive patches in the right place. They may matter more to the likeness than individual hairs. A dog’s crooked blaze or a cat’s unusual eyebrow is worth checking against the photo.
If you change the background, try the proposed colour beside your dry fur swatches first. You want to see the pet clearly against it. Save a note of what you used so a later touch-up matches.
Fix a mistake without turning it into a bigger one
Stop and identify what happened before brushing over it repeatedly.
| Problem | A useful first move |
|---|---|
| Wrong colour in a region | Check the clean reference, let the area dry, then test a correction |
| A number still shows | Assess another coat once the first is dry |
| Two wet colours mixed at an edge | Pause and let the area dry before restoring the boundary |
| You cannot read a covered label | Use the spare template or ask the provider for a reference |
| A paint pot is missing or dried out | Contact the supplier before replacing it with a guess |
| The pet looks strange halfway through | Complete more of the surrounding shapes and review from farther away |
These are practical starting points, not promises that every surface or paint will cover equally well. A small correction test helps you avoid creating a thick patch in the middle of the face.
Finish, dry, and display it
Review the portrait in good light. Look for missed regions, visible labels, and accidental gaps at boundaries. Compare against the numbered reference rather than adding details simply because the paint is still out.
Let the painting dry somewhere it will not be touched, stacked, or brushed against. Follow your paint and surface instructions for handling and framing.
Varnish is a separate finishing decision. Do not apply it just because the surface feels dry. Liquitex’s varnishing guidance calls for fully dried paint and product-specific application steps. Check the instructions for the exact varnish you intend to use, including waiting time and compatibility.
Before gifting it, take a clear photograph of the finished piece. Add the pet’s name and the date on the back if you like. The slightly wonky ear may end up being the part everyone loves.
Pet paint-by-numbers questions
Is pet paint by numbers suitable for beginners?
It can be, especially with readable labels and manageable shapes. Choose the design by its actual detail at the intended size, not just a beginner label on the listing. A close pet portrait can be easier to follow than a crowded scene.
Do I need to mix the paints?
That depends on what you bought. Some kits supply numbered premixed paints. A digital template may require you to choose and mix your own colours. Check before ordering supplies.
Should I paint light colours or dark colours first?
Follow the kit’s guidance if it specifies an order. Otherwise, choose a sequence that gives you control and keeps your hand away from wet areas. Keep the clean reference available whichever order you use.
Will it look exactly like the photograph?
A numbered design simplifies a photo into shapes and a limited palette. Expect a painted interpretation rather than a photographic copy. Check the preview and the important facial features before committing to the design.
Can I spread the project over several days?
Yes. Keep the template and palette together, close paints according to their instructions, and note where you stopped. Avoid promising yourself a finishing time until you have tried a representative section.
What if I would rather have help?
Browse paint-your-pet classes and check what the individual studio prepares. Some offer an outline or grayscale canvas with an instructor instead of a numbered kit.
Painting with a group?
Let each person choose a design they can comfortably see and handle. Avoid making everyone race toward the same finish time. A simpler portrait can be a better first session than an intricate one nobody wants to return to.
If you are hosting as a studio, start with our paint-your-pet night guide for photo preparation, staffing, and the booking details customers need. For a home project, set out the reference, open one colour, and begin with a shape that gives you room to practise.
Sources
Official studio and art-material guides informed this article. Class policies and product options can change; check the provider’s current details before booking or buying.
- Pinot’s Palette: Project Pet
Its grayscale canvas, custom palette, and instructor-led class format.
- Canvas by Numbers: kit questions
An example of included materials and what to expect from a custom numbered painting.
- Liquitex: preparing your painting surface
How the surface affects acrylic paint handling and adhesion.
- Liquitex: acrylic paint basics
Wet-to-dry colour changes and cleaning acrylic paint while wet.
- Liquitex: varnishing acrylics
Drying and application considerations before varnishing an acrylic painting.